2017年6月29日 星期四

2017年6月12日 星期一


20170612 Weel17 上課筆記
一、匯入openCV
1.打開專案cpb檔,匯入以下圖片程式碼

2.資料夾要有以下檔案

三、更改專案名稱
1.打開cpb檔改title

2.另存專案

二、背景貼圖示範(FB下載myEarth)
1.未修改前,圓的地球儀

2.修改程式碼,把貼圖貼在球改成平的背景圖

3.把模型匯入,複製重要程式碼


1.打開專案cpb檔,匯入以下圖片程式碼

2.資料夾要有以下檔案

三、更改專案名稱
1.打開cpb檔改title

2.另存專案

二、背景貼圖示範(FB下載myEarth)
1.未修改前,圓的地球儀

2.修改程式碼,把貼圖貼在球改成平的背景圖

3.把模型匯入,複製重要程式碼


2017年5月22日 星期一
王華偉上課筆記 Week14 05/22
1.安裝FREEGIUT 並更改設定

2.下載自己的回家作業繼續完成

二、用TRT找出旋轉的關節
1.用RT讓關節點在畫面的正中心,旋轉時關節不會跑掉

2.把身體顯示出來,最上面再加T讓關節接到正確的位置

3.成功做出關節,其他部位做法雷同

2.下載自己的回家作業繼續完成

二、用TRT找出旋轉的關節
1.用RT讓關節點在畫面的正中心,旋轉時關節不會跑掉

2.把身體顯示出來,最上面再加T讓關節接到正確的位置

3.成功做出關節,其他部位做法雷同
2017年5月15日 星期一
王華偉上課筆記 Week13 05/15
本週主題:
(1) 小考: T-R-T觀念
老師考前講解並用自己的手當範例

程式碼:
glPushMatrix();
glTranslate(0.4,-1.0,0);
glRotate(angle,0,0,1);
glTranslate(0.2,-0.5,0);
drawLeg();
glPopMatrix();
讀圖檔
1.安裝opencv2.1
2.確認C:\OpenCv2.1\include\opencv\很多.h檔
\lib\很多lib檔
\bin\很多dll檔
3.新增貝殼專案file-new-project,Console App
程式碼:
#include <opencv/highgui.h>
int main(){
IplImage * img=cvLoadImage("C:/小圖.png");
cvShowImage("a",img);
cvWaitKey(0);
}


轉動的地球
1.myearth解壓縮
2.解壓縮freeglut
3.開myearth專案
4.執行

(1) 小考: T-R-T觀念
老師考前講解並用自己的手當範例

程式碼:
glPushMatrix();
glTranslate(0.4,-1.0,0);
glRotate(angle,0,0,1);
glTranslate(0.2,-0.5,0);
drawLeg();
glPopMatrix();
讀圖檔
1.安裝opencv2.1
2.確認C:\OpenCv2.1\include\opencv\很多.h檔
\lib\很多lib檔
\bin\很多dll檔
3.新增貝殼專案file-new-project,Console App
程式碼:
#include <opencv/highgui.h>
int main(){
IplImage * img=cvLoadImage("C:/小圖.png");
cvShowImage("a",img);
cvWaitKey(0);
}


轉動的地球
1.myearth解壓縮
2.解壓縮freeglut
3.開myearth專案
4.執行

2017年5月8日 星期一
05/08 Week12 王華偉上課筆記
1.前往老師所提供的網址下載data,win32,glut32

2.檔案解壓縮後丟入window資料夾

3.開啟projection

4.

2.檔案解壓縮後丟入window資料夾

3.開啟projection

4.
 |
| 加入以下程式 #include <math.h> glMatrixMode(GL_PROJECTION); glLoadIdentity(); gluPerspective(60, 1, 0.001, 10000); glMatrixMode(GL_MODELVIEW); |
 |
| 到jsyeh.org/3dcg10下載data windows glut32.dll 解壓縮windows並把glut32.dll跟data的壓縮檔拉進解壓縮的windows裡面 |
 |
| 加入以下程式碼 #include <GL/glut.h> float eyeX=0, eyeY=0, eyeZ=1; float centerX=0, centerY=0, centerZ=0; float upX=0, upY=1, upZ=0; static void display(void) { glClear(GL_COLOR_BUFFER_BIT | GL_DEPTH_BUFFER_BIT); glColor3d(1,0,0); glPushMatrix(); gluLookAt(eyeX, eyeY, eyeZ, centerX, centerY, centerZ, upX, upY, upZ); glutSolidTeapot(0.3); glPopMatrix(); glutSwapBuffers(); } const GLfloat light_ambient[] = { 0.0f, 0.0f, 0.0f, 1.0f }; const GLfloat light_diffuse[] = { 1.0f, 1.0f, 1.0f, 1.0f }; const GLfloat light_specular[] = { 1.0f, 1.0f, 1.0f, 1.0f }; const GLfloat light_position[] = { 2.0f, 5.0f, 5.0f, 0.0f }; const GLfloat mat_ambient[] = { 0.7f, 0.7f, 0.7f, 1.0f }; const GLfloat mat_diffuse[] = { 0.8f, 0.8f, 0.8f, 1.0f }; const GLfloat mat_specular[] = { 1.0f, 1.0f, 1.0f, 1.0f }; const GLfloat high_shininess[] = { 100.0f }; /* Program entry point */ int main(int argc, char *argv[]) { glutInit(&argc, argv); glutInitWindowSize(640,480); glutInitWindowPosition(10,10); glutInitDisplayMode(GLUT_RGB | GLUT_DOUBLE | GLUT_DEPTH); glutCreateWindow("GLUT Shapes"); ///glutReshapeFunc(resize); glutDisplayFunc(display); ///glutKeyboardFunc(key); //glutIdleFunc(idle); glClearColor(1,1,1,1); ///glEnable(GL_CULL_FACE); ///glCullFace(GL_BACK); glEnable(GL_DEPTH_TEST); glDepthFunc(GL_LESS); glEnable(GL_LIGHT0); glEnable(GL_NORMALIZE); glEnable(GL_COLOR_MATERIAL); glEnable(GL_LIGHTING); glLightfv(GL_LIGHT0, GL_AMBIENT, light_ambient); glLightfv(GL_LIGHT0, GL_DIFFUSE, light_diffuse); glLightfv(GL_LIGHT0, GL_SPECULAR, light_specular); glLightfv(GL_LIGHT0, GL_POSITION, light_position); glMaterialfv(GL_FRONT, GL_AMBIENT, mat_ambient); glMaterialfv(GL_FRONT, GL_DIFFUSE, mat_diffuse); glMaterialfv(GL_FRONT, GL_SPECULAR, mat_specular); glMaterialfv(GL_FRONT, GL_SHININESS, high_shininess); glutMainLoop(); return EXIT_SUCCESS; } |
 glPushMatrix(); glTranslatef( );掛上去 glRotatef( );旋轉 glTranslatef( );定旋轉中心 ///重複上面的TRT glPopMatrix(); |
| #include <GL/glut.h> #include <math.h> float eyeX=0, eyeY= 0, eyeZ= 2; float centerX=0, centerY=0, centerZ=0; float upX=0, upY=1, upZ=0; float angle=0, dir=1;; static void display(void) { glMatrixMode(GL_PROJECTION); glLoadIdentity(); gluPerspective(60, 1, 0.001, 10000); glMatrixMode(GL_MODELVIEW); angle+=dir; if(angle>60) dir=-dir; if(angle<0) dir=-dir; glClear(GL_COLOR_BUFFER_BIT | GL_DEPTH_BUFFER_BIT); glColor3d(1,0,0); glPushMatrix(); gluLookAt(eyeX, eyeY, eyeZ, centerX, centerY, centerZ, upX, upY, upZ); glPushMatrix(); glColor3f(1,0,0); glutSolidTeapot(0.3);///head glPushMatrix(); glTranslatef(0, -0.3, 0); glColor3f(1,1,1); glutSolidTeapot(0.3);///body glPushMatrix(); ///glTranslatef(0.6,0,0);///old rotate glTranslatef(0.3,0,0);/// T glRotatef(angle, 0,0,1);///R glTranslatef(0.3,0,0);/// T glutSolidTeapot(0.3);///right upper arm glPushMatrix(); glTranslatef(0.3, 0,0);///T glRotatef(angle, 0,0,1);///R glTranslatef(0.3, 0,0);///T glutSolidTeapot(0.3);///right lower arm glPopMatrix(); glPopMatrix(); glPushMatrix(); ///glTranslatef(0.6,0,0);///old rotate glTranslatef(-0.3,0,0);/// T glRotatef(-angle, 0,0,1);///R glTranslatef(-0.3,0,0);/// T glutSolidTeapot(0.3);///left upper arm glPushMatrix(); glTranslatef(-0.3, 0,0);///T glRotatef(-angle, 0,0,1);///R glTranslatef(-0.3, 0,0);///T glutSolidTeapot(0.3);///left lower arm glPopMatrix(); glPopMatrix(); glPopMatrix(); glPopMatrix(); glPopMatrix(); glutSwapBuffers(); } const GLfloat light_ambient[] = { 0.0f, 0.0f, 0.0f, 1.0f }; const GLfloat light_diffuse[] = { 1.0f, 1.0f, 1.0f, 1.0f }; const GLfloat light_specular[] = { 1.0f, 1.0f, 1.0f, 1.0f }; const GLfloat light_position[] = { 2.0f, 5.0f, 5.0f, 0.0f }; const GLfloat mat_ambient[] = { 0.7f, 0.7f, 0.7f, 1.0f }; const GLfloat mat_diffuse[] = { 0.8f, 0.8f, 0.8f, 1.0f }; const GLfloat mat_specular[] = { 1.0f, 1.0f, 1.0f, 1.0f }; const GLfloat high_shininess[] = { 100.0f }; /* Program entry point */ int main(int argc, char *argv[]) { glutInit(&argc, argv); glutInitWindowSize(640,480); glutInitWindowPosition(10,10); glutInitDisplayMode(GLUT_RGB | GLUT_DOUBLE | GLUT_DEPTH); glutCreateWindow("GLUT Shapes"); ///glutReshapeFunc(resize); glutDisplayFunc(display); ///glutKeyboardFunc(key); ///glutIdleFunc(idle); glutIdleFunc(display); glClearColor(1,1,1,1); ///glEnable(GL_CULL_FACE); ///glCullFace(GL_BACK); glEnable(GL_DEPTH_TEST); glDepthFunc(GL_LESS); glEnable(GL_LIGHT0); glEnable(GL_NORMALIZE); glEnable(GL_COLOR_MATERIAL); glEnable(GL_LIGHTING); glLightfv(GL_LIGHT0, GL_AMBIENT, light_ambient); glLightfv(GL_LIGHT0, GL_DIFFUSE, light_diffuse); glLightfv(GL_LIGHT0, GL_SPECULAR, light_specular); glLightfv(GL_LIGHT0, GL_POSITION, light_position); glMaterialfv(GL_FRONT, GL_AMBIENT, mat_ambient); glMaterialfv(GL_FRONT, GL_DIFFUSE, mat_diffuse); glMaterialfv(GL_FRONT, GL_SPECULAR, mat_specular); glMaterialfv(GL_FRONT, GL_SHININESS, high_shininess); glutMainLoop(); return EXIT_SUCCESS; } |
2017年5月1日 星期一
2017/05/01 王華偉上課筆記 Week11
1.下載 3D Exploration 1.81

2.打開軟體

3.下載data資料夾解壓縮

4.選擇模型

5.另存cpp檔

6.開啟 open GL

7.新增file

8.叫出3D模型


2.打開軟體

3.下載data資料夾解壓縮

4.選擇模型

5.另存cpp檔

6.開啟 open GL

7.新增file

8.叫出3D模型

2017年4月24日 星期一
Week10 2017/04/24 王華偉上課筆記
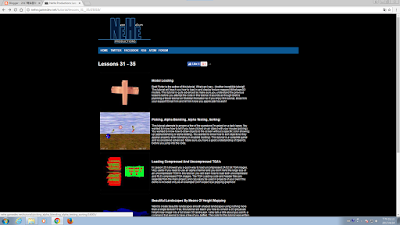
1.至NEHE網站 前往LESSON32 課程
2.下載最下面的Visual c++ 範例
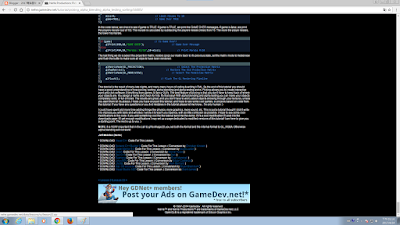
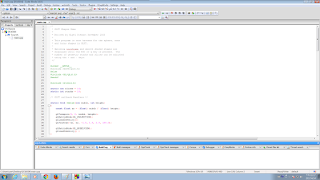
3.解壓縮至桌面\Lesson32\lesson32.exe

4.開啟應用程式Lesson32.exe
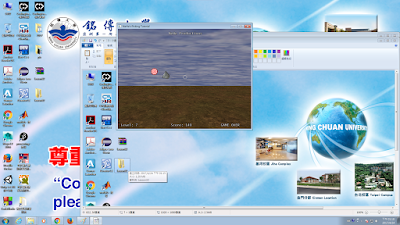
5開啟CODEBLOCKS 並開啟GLUT專案
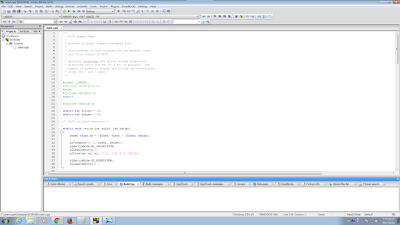
6.再加入 #include <mmsystem.h>//多媒體系統
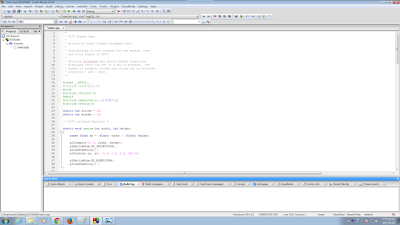
7.與void mouse(int button, int state, int x, int y)
{
PlaySound("data/shot.wav",NULL,SND_ASYNC);
}
跟
glutMouseFunc(mouse);
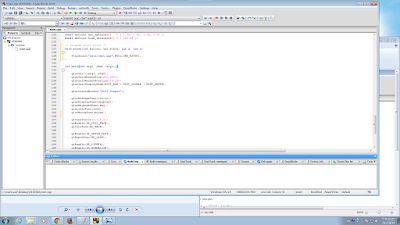
8.再加入void keyborad(unsigned char key, int x, int y)
{
PlaySound("C:\\Users\\user\\Desktop\\Lesson32\\data/shot.wav",NULL,SND_ASYNC);
}
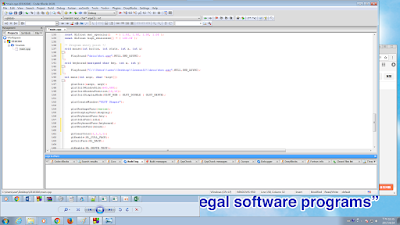
9加入新涵式void keyborad(unsigned char key, int x, int y)
{
if(key=='1') PlaySound("Do.wav",NULL,SND_ASYNC);
if(key=='2') PlaySound("Re.wav",NULL,SND_ASYNC);
if(key=='3') PlaySound("Mi.wav",NULL,SND_ASYNC);
if(key=='4') PlaySound("Fa.wav",NULL,SND_ASYNC);
if(key=='5') PlaySound("So.wav",NULL,SND_ASYNC);
}
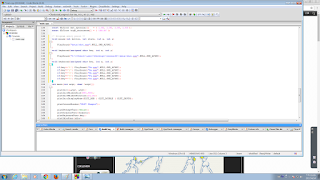
10.並去網路上下載WAV音樂檔,放入FREE GLUT\\BIN中資料夾
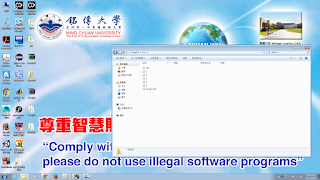
11.這樣按下鍵盤12345就會有12345檔名的聲音
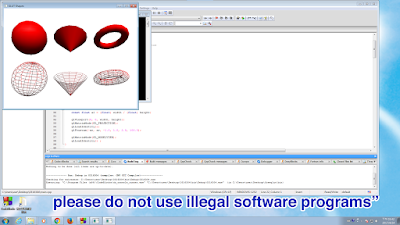

2.下載最下面的Visual c++ 範例


3.解壓縮至桌面\Lesson32\lesson32.exe

4.開啟應用程式Lesson32.exe

5開啟CODEBLOCKS 並開啟GLUT專案

6.再加入 #include <mmsystem.h>//多媒體系統

7.與void mouse(int button, int state, int x, int y)
{
PlaySound("data/shot.wav",NULL,SND_ASYNC);
}
跟
glutMouseFunc(mouse);

8.再加入void keyborad(unsigned char key, int x, int y)
{
PlaySound("C:\\Users\\user\\Desktop\\Lesson32\\data/shot.wav",NULL,SND_ASYNC);
}

9加入新涵式void keyborad(unsigned char key, int x, int y)
{
if(key=='1') PlaySound("Do.wav",NULL,SND_ASYNC);
if(key=='2') PlaySound("Re.wav",NULL,SND_ASYNC);
if(key=='3') PlaySound("Mi.wav",NULL,SND_ASYNC);
if(key=='4') PlaySound("Fa.wav",NULL,SND_ASYNC);
if(key=='5') PlaySound("So.wav",NULL,SND_ASYNC);
}

10.並去網路上下載WAV音樂檔,放入FREE GLUT\\BIN中資料夾

11.這樣按下鍵盤12345就會有12345檔名的聲音

訂閱:
文章 (Atom)